Tuesday, August 4, 2015

Friday, July 26, 2013

Abstract Wall Decor


Materials Needed:
  • 12in x 36in canvas, x3 (wait for sales at Michaels/JoAnn Fabric)
  • Extra interior/exterior housepaint, multiple colors - whatever you have lying around (Or check Craigslist for free old paint)
  • Paintbrushes of various sizes
  • Cans/jars/circular containers of various sizes
  • Krylon finishing spray


  • 1. Using a neutral base color, paint the entire surface of the canvases. Before it dried, I added swishes of slightly lighter color with a large, stiff-bristled paint brush.  I like the texture, so I applied the paint liberally.


  • 2. Heavily dip brushes of various sizes in
    paint, use a throwing motion to splatter paint on canvas. I did this step outside. You can see the splatters in the closeup picture of the finished project. Allow to dry.


  •  3.  Using different color accent paint and different sized containers, dip containers in paint and place on canvas (like a stamp). I poured the paint onto paper plates first, that made it very easy to dip the containers. When I did this, I lined my canvases up so they were touching, that gives the finished product a connected effect. Also, using the stamps carefully, make sure to continue the circles onto the sides of the canvas (see enlarged pic above). Use a small paintbrush to touch up circles or make certain ones overlap each other.


  • 4. Allow to dry completely, spray with Krylon finishing spray.


  • Enjoy your masterpiece! The good thing about using old house paint you have lying around - chances are your creation will fit perfectly in your home's color scheme!  You now have a gorgeous, home-made set of paintings that would cost about $60 in the stores.


Cherry Blossom Silhouettes


Materials Needed
  • Paint, acrylic + paintbrush
  • Canvas
  • Printout of design
  • Wax paper
  • Painter's tape
  • Scissors
  • Spray paint
  • Krylon finishing spray


  1. Using acrylic paint, I created a pink wash. I also sprinkled some salt on before it dried to create a 'starry' effect. Let dry completely. This will be the color of the design that shows through


NOTE: steps 2-4 could be replaced with stickers, but I couldn't find any for the design I wanted


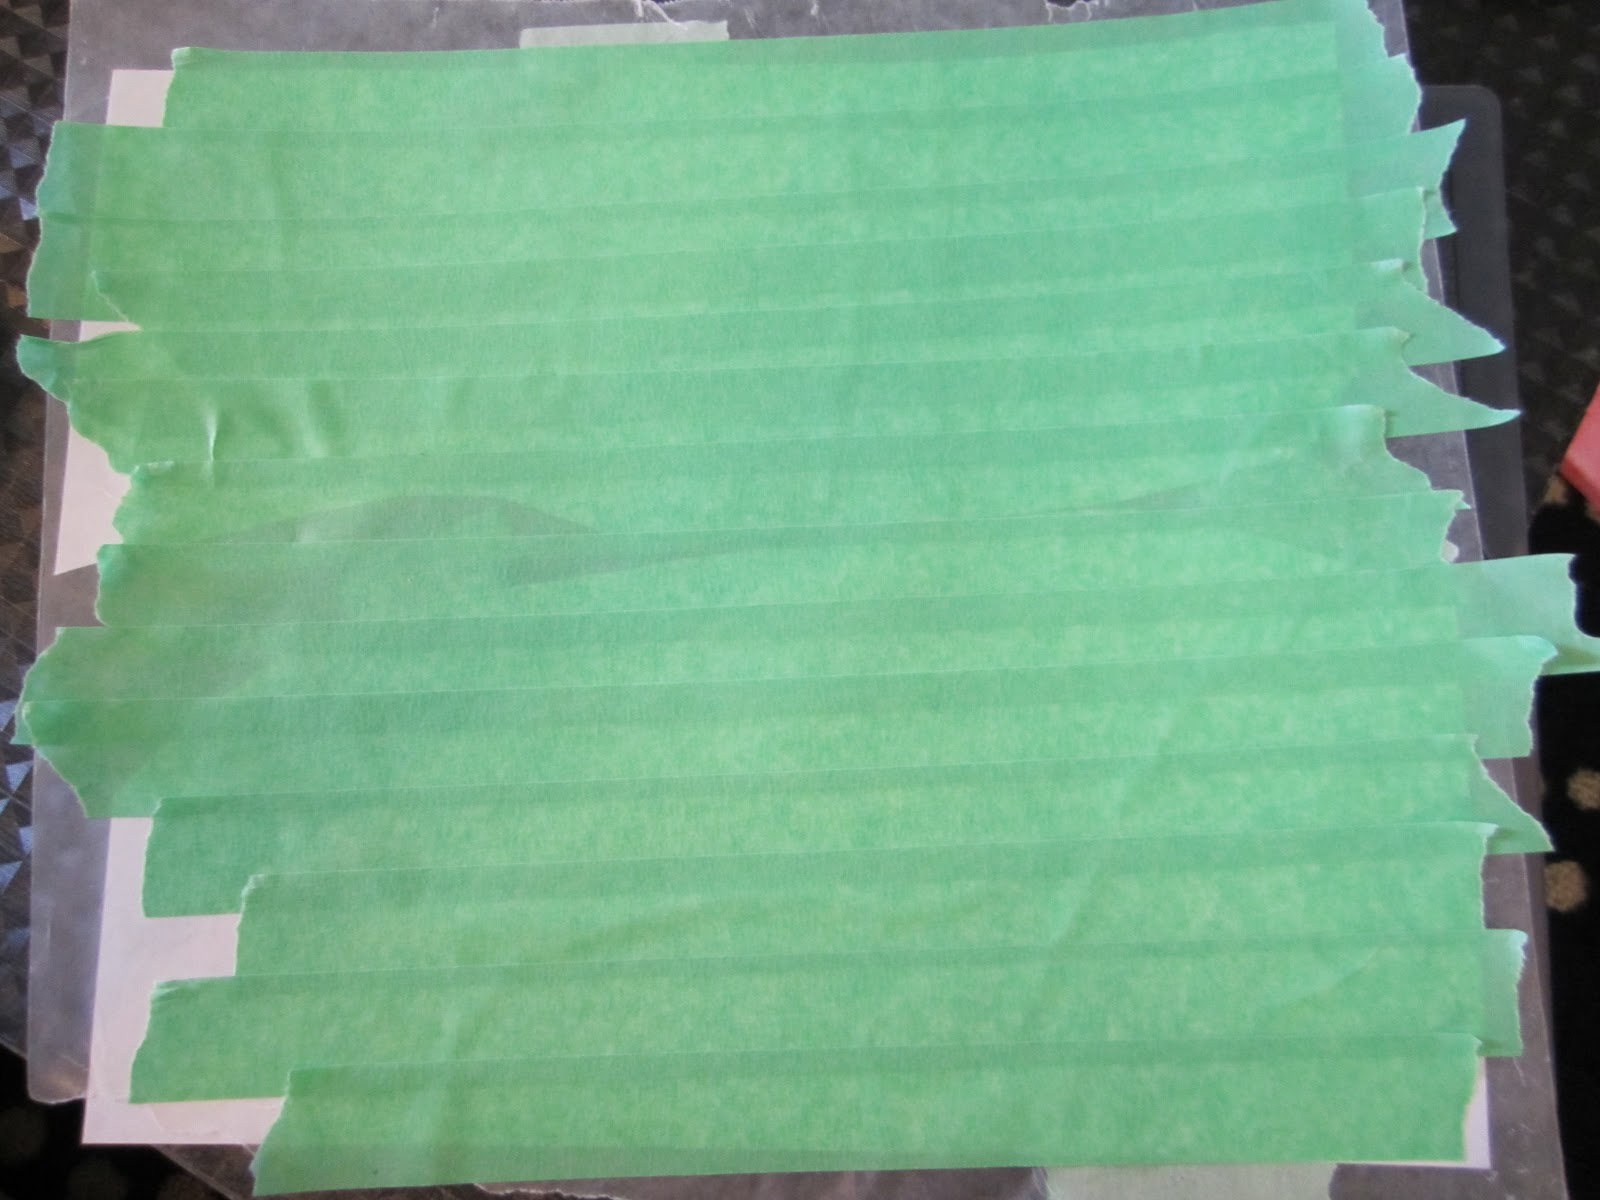
2.  Tape desired design to wax paper with waxier side facing out (not against the paper)


3. Cover the waxier side of the wax paper with painters tape, making sure the entire design is covered 


4. Carefully cut out your design, creating a painters tape sticker-stencil 


5.  Peel tape stencil off of wax paper and apply to canvas as desired. I also taped off the edges of the canvas.

 6. Spray paint over entire canvas. Allow to dry completely.


7. Peel off tape stencil. Finish with Krylon spray to add protective coating. 


This would also look cool with lights behind it, especially if you use an opaque top coat so that only the design would light up


Sunday, April 28, 2013

Baby Name Art


Supplies Needed
  • Canvas, 12x12
  • Printer, ink, Microsoft Word or a program with different font
  • Pencil
  • Acrylic paints and brushes
  • Krylon finishing spray

Step 1: Gather baby's birth statistics, such as name, date and time of birth, weight, length, ect
Step 2: Experiment with fonts, sizes, and placement using baby's 'stats'. Arrange font stencils on canvas in desired pattern


Step 3: Using a pencil, shade the backs of the font stencils. 


Step 4: Paint canvas (including edges) desired background and allow to dry completely. Note: I did the stenciling first, but after painting the background the letters were very difficult to see, so I recommend painting the background and then doing step 5.


Step 5: Flip font stencils back over and trace the outline of the letters, using firm pressure to ensure graphite transfer


Step 6: Fill in letters with paint, using patterns and different colors if desired. Letter stickers or painted wooden letters would be cute too! 


 After paint is completely dry, spray with Krylon finishing spray to protect finished product. These make wonderful gifts!